Export NWC Using Shared Coordinates for Your Newforma Konekt Project
1 minute
10 months ago
This article explains how to export Revit models in NWC format so that Revit shared coordinates are used when you open them in Navisworks.
We suggest that you publish one NWC per discipline. This will improve the performance and also make much easier for you to target specific elements or parts of the model when reviewing the issues.
- Select the Revit menu.
- Click the ‘Export’ tab.
- Select the NWC format.
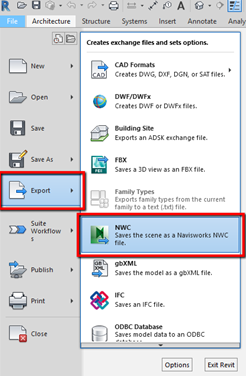
- Click the ‘Navisworks Settings’ button at the bottom of the window.
- Expand the ‘File Reader’ submenu.
- Locate and set the Coordinates field to ‘Shared’.

- Import your NWC file into Navisworks and your model should now be properly positioned geographically.
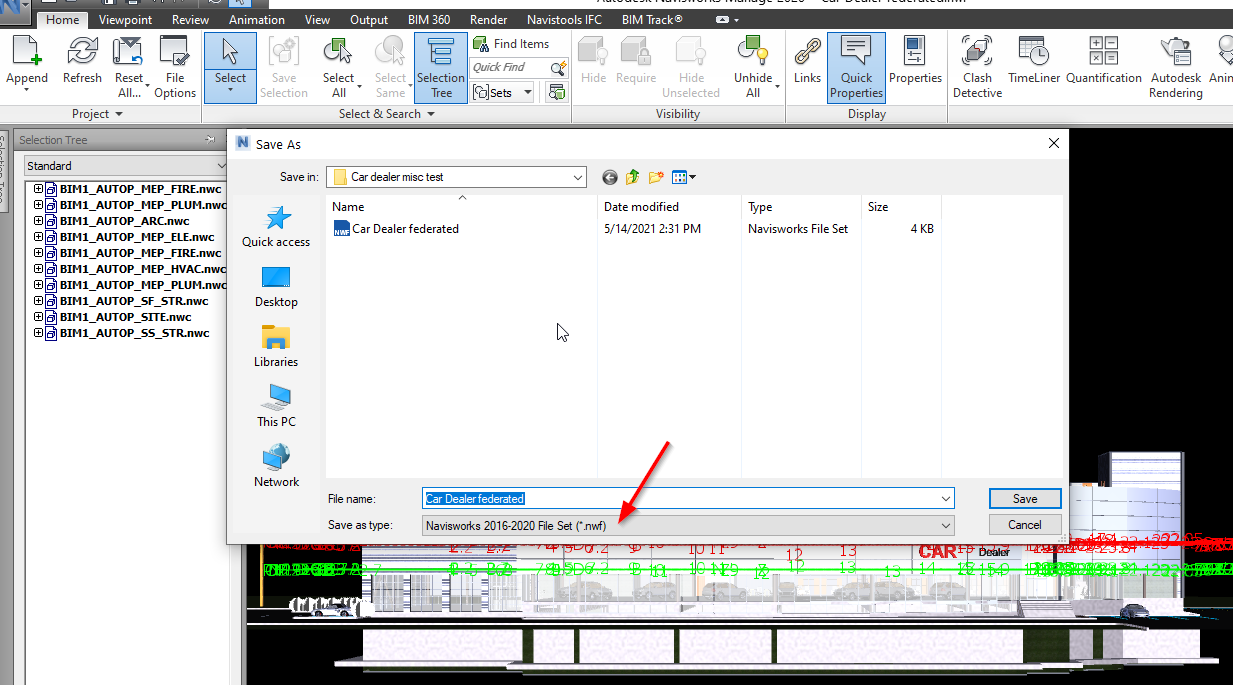
- If you wish to federate several NWCs in a NWF file, you can simply use the ‘Append’ function in Navisworks and open your files all at once:

- Once this is done and all the NWCs appear in your Selection Tree, you can go ahead and ‘save as’ your Navisworks project as an NWF: