
About Issue Details
The issue details page offers a wide array of functionalities that let comment, add attachment, review the change history and edit the issues attributes as well as the title and its description.
Issue Edition
To edit an issue, simply click the pencil-shaped icon at the top right corner of the issue card. When editing an issue, you can manage the viewpoints linked to that issue, edit the title/description and edit its attributes.
Manage Viewpoints
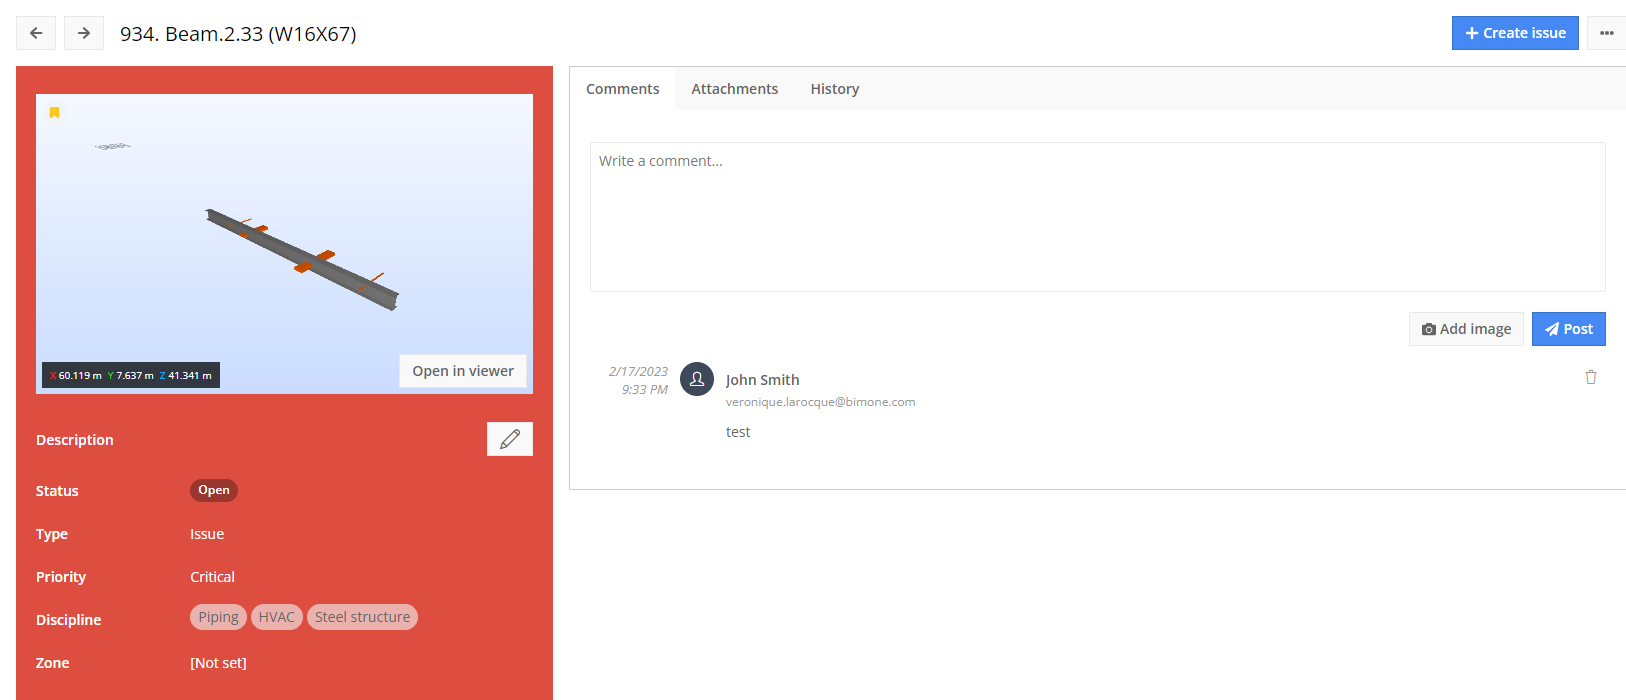
Viewpoints can also be managed via the issue details page. Using the viewpoint control buttons, you can annotate the image, add an image, delete & replace existing viewpoints. A viewpoint can also be set as default meaning that this is the image that will be displayed in the issue dashboard. This is also the image that will appear in the reports.
Comments
In the Comments section it is possible to add comments & images related to the issue. Our comment feed structure is based off the standards established by BCF format. Check out this article if you’d like further details on this standard.
Attachments
You can easily manage attachments directly from the issue details page. Attachments can be added by clicking the Browse… button or by simply dragging and dropping a file directly from your computer. Once an attachment has been uploaded, it can be downloaded by everyone who has access to this issue. Deleting attachment, however, is only possible for users who have ‘Editor’ or ‘Admin’ permissions. There is no limit in the file size of the attachment and an unlimited amount of attachment can be added to the same issue.
History
The History tab lets you review all the changes that were made to the issue since its publication. This includes added comments, changed attributes, title and description changes, Etc. Please note that archived comments also appear in the “History” tab for traceability purposes.
Export
Exporting the issue you are currently viewing to either BCF or Excel format can be done within a few clicks directly from the issue details page. To do so, simply click the … icon at the top right corner and select Export. In the popup window, select a file format and click ‘Export’. Once the export process will be completed, you will receive a notification via the interface and an email letting you know that your file is ready to download. Simply click the message contained in the notification to start downloading the file. Alternatively, issues can also be exported to these formats from the Issues page page. The key difference is that in the issues page, you can Export Multiples Issue at the same time.
Archive
Archiving an issue can also be done directly from the issues page. Please note that the archive feature is only available for projects administrators. To archive the issue, simple click the … at the top right of the page and select “Archive”. If you’d like delete an issue permanently, it is mandatory to archive it first and delete it from the “Archived Issues” page. Please note that the “Archived Issues” page is also only available to project’s administrators. Alternatively, issues can also be archived from the Issues page. The key difference is that in the issues dashboard page, you can archive multiple issues at the same time.